During this week’s adventure, I had to build an opt-in form so users could subscribe to my newsletter. The main challenge here was that I didn’t want to build a custom backend just to process the incoming data (emails), but I wanted to have some control over how the data was processed, stored and used; to achieve this, I needed a backend forms solution that had an out-of-the-box integration with Zapier.
After some research, the best solution I found was Basin a very powerful, flexible and well-priced forms backend that integrates with Zapier. Basin was easy to use and customize, as the product allows both AJAX and regular POST form requests as a way to send the data.
Even tho the integration with Basin was easy, to create a good email list that moves KPIs, I need to keep readers engaged by emailing only information they might find relevant. And, to maintain high content personalization at scale on email marketing campaigns, I have to correctly segment my readers. To achieve this, I decided to tag users based on custom parameters added to URLs; by doing this, I will always be able to identify campaign and segment information for everyone in my mailing list.
In this post, I’ll guide you through the setup and configuration of a low-code stack that will add tags to customers as they opt-in to your MailChimp email marketing list based on custom URL parameters using Zapier, Basin, and a little bit of code. Let’s get building! 🚀
Prerequisites
Before you begin this tutorial you will need:
- A Basin form endpoint to post data to.
- A Zapier account.
- A MailChimp account and one audience.
Define a set of parameters to tag users
To create a system that is flexible and manageable from an operational perspective, you’ll need to define a rule set to tag your customers. The main objective here should be to allow sales and marketing teams to create as many segments as they need while maintaining tags useful.
As an example, during my next outreach campaign, I decided to target some startup CEOs. I knew I wanted to tag them as “CEO” working on a “startup” with interests in topics like “startups, performance marketing, team building, and tech” due to their expertise and LinkedIn profiles. Additionally, I knew (1) this information would be available on all of my future sales/marketing campaigns, and, (2) tagging users like this would allow me to create campaigns relevant enough to most of my readers; consequently, I created the following parameter standard.
| parameter | type | example | created tag(s) |
|---|---|---|---|
| persona_role | string | CEO | role:ceo |
| persona_company_type | string | startup | company_type:startup |
| persona_topics | list | marketing,tech | topics:marketing and topics:tech |
Before we continue, think about how you want to separate your user segments and what data will your team collect from every campaign that allows for ease of segmentation, and then, create your custom parameter standard. Also, don’t worry, as long as you add the “persona_” prefix to all of your parameters, then the code in this post will correctly tag your users.
Create a custom form that uses Basin as the backend
Now that you have defined a parameter standard, it’s time to create a form with some basic fields. You might want to collect their name, phone, email, and, some other hidden fields like the language code for a multilingual website. In the following example, I created a form with just an email field.
<form id="subscribe">
    <input
        required
        type="email"
        name="email"
        placeholder="Enter your email..."
    />
    <button>
        Subscribe
    </button>
</form>
Once you’ve added the form to your website, you will need to add a listener to the submit event, which is triggered once someone clicks on the form’s button, and, sends the data to Basin. This can be accomplished by adding the following script tag to your website.
<!--
Creating a script with a type module makes the browser treat it
as an ESmodule and ensures the context is scoped. Local variables
won't be added to the global window object.
-->
<script type="module">
    const userTagPrefix = "persona_";
    // userTagCleanUpRegex matches all non alpha-numeric characters
    // and multiple consecutive underscores
    const userTagCleanUpRegex = /[\W_]+/g;
    const formatTagKey = (key) => {
        return key.toLowerCase().replaceAll(userTagCleanUpRegex,"_");
    };

    const form = document.getElementById("subscribe");

    form.addEventListener("submit", (e) => {
      e.preventDefault();

      const params = location.search.substr(1).split("&");
      const tags = [];
      params.forEach((p) => {
        if (typeof p === "undefined" || !p.startsWith(userTagPrefix)) {
            return;
        }

        let [k, v] = p.split("=");
        if (typeof v === "undefined" || typeof k === "undefined") {
            return;
        }
        k = k.replace(userTagPrefix, "");
        v = v.split(","); // list tags like topics are strings separated by commas

        v.forEach((_v) => tags.push(`${formatTagKey(k)}:${formatTagKey(_v)}`));
      });

      const formData = new FormData(form);
      formData.set("tags", tags);

      fetch("{{ BASING_FORM_ENDPOINT }}", {
        method: "POST",
        headers: {
        Accept: "application/json",
        },
        body: formData,
      }); // You should probably handle any errors here
    });
</script>Now you have a working form that will post the user information and the URL parameters that start with the prefix “persona_” to Basin, it’s time to create some zaps!
Create a Zap to integrate Basin with MailChimp
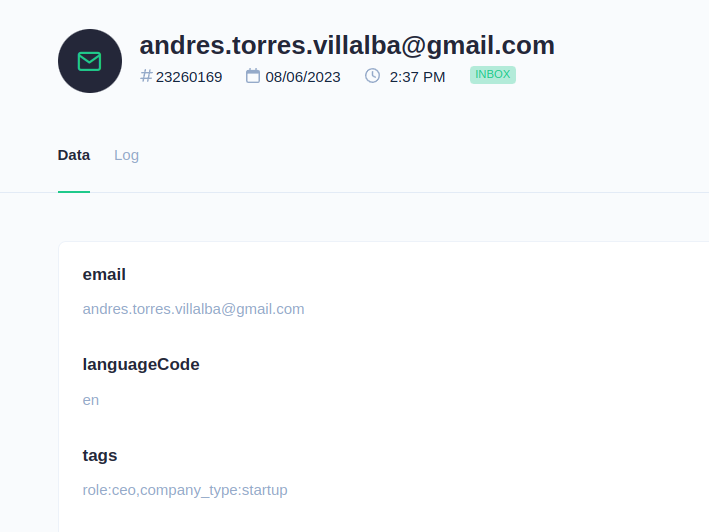
To integrate Basin with MailChimp, first, we will need to create some test data that is accessible from Zapier. To do so, navigate to your form’s website (adding some test parameters to the URL eg. https://www.yourwebsite.com/landing?persona_type=ceo&persona_topics=marketing), fill out and submit the form. If you have done it correctly, the record should have the correct tags and form data and should look something like this.
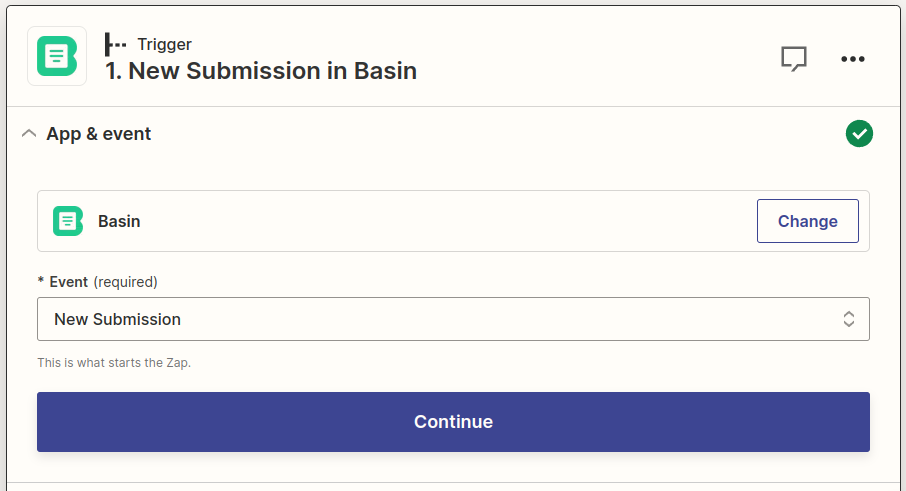
Now, Start a new Zap and search for the Basin triggers. Select the form submission event as the Zap trigger. Connect your account and set the previously created record as the test event.
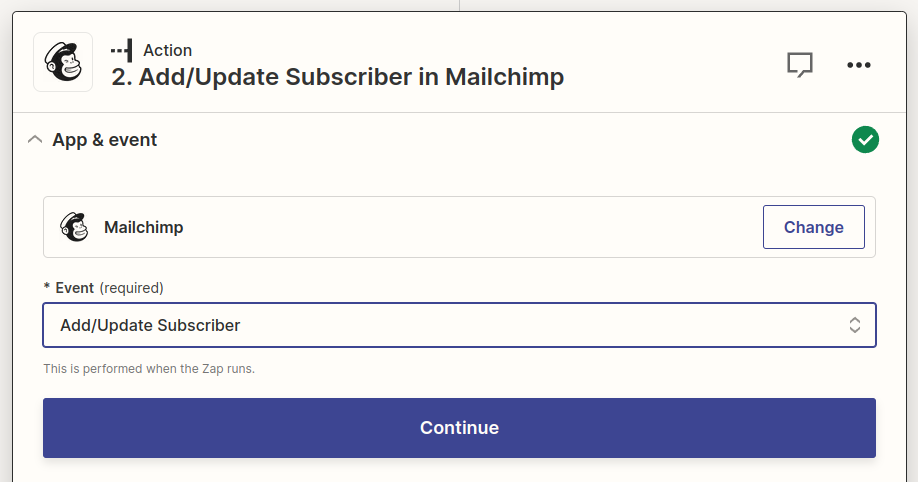
As the action for your Zap, search for MailChimp and select the action Add/Update Subscriber.
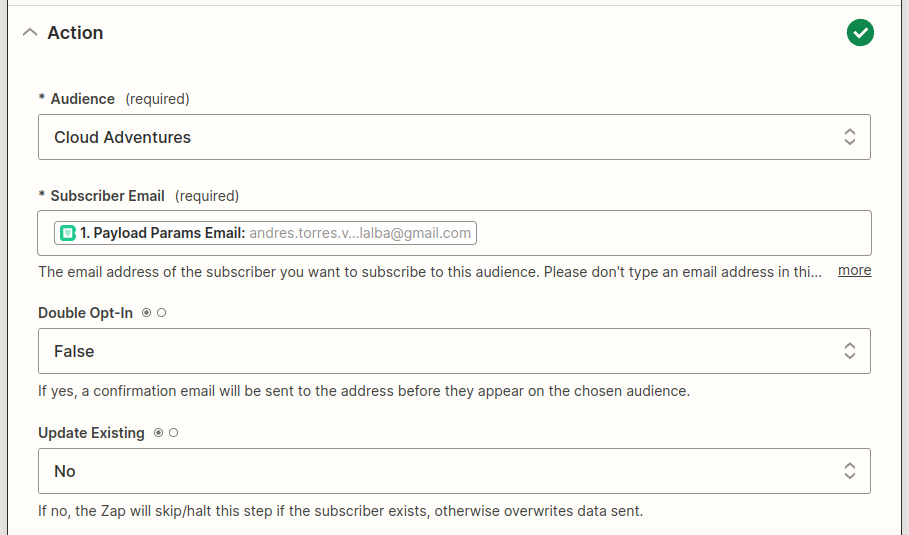
Once the action has been created, make sure to configure email as the form parameter from Basil, disable double opt-in and do not update existing contacts.
As a final configuration step, make sure you tag the MailChimp contact with the tag parameter of the Basin form and any other static tags you might want to add.

Test the MailChimp action. You should have a new MailChimp contact with all the dynamic tags you added to the distribution link for your website page.
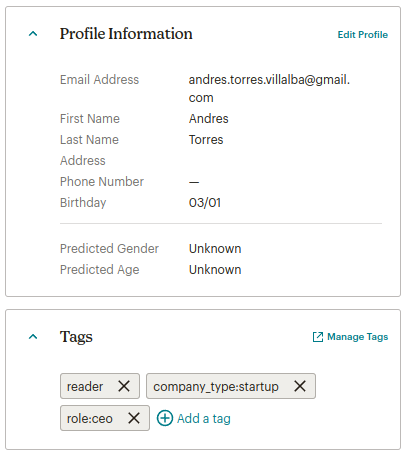
By now, you should have the base architecture to achieve high content personalization at scale on email marketing campaigns. Start creating custom audiences and build your highly detailed email list, and to learn more about low-code performance marketing tools subscribe to my newsletter.